What Are the Top Types of Center Joints?
A Center Joint connects two pieces of material along a shared line, often near the middle of a panel, frame, or workpiece. In woodworking, the right joint can affect strength, alignment, appearance, and how easily a project can be assembled. Some options rely on simple edge contact. Others use added support, such as dowels, splines, or biscuits. Small details matter.
This guide explores common types, including butt, miter, spline, biscuit, dowel, and mortise-and-tenon joints. Each has trade-offs. A butt joint is straightforward, but it may need reinforcement. A miter can hide end grain, yet accurate cuts are essential. Splines and biscuits help align adjoining edges, though they do not automatically make every joint stronger. It depends on the materials, fit, adhesive, and intended load.
Choosing well starts with the job. A cabinet panel, a tabletop, and a decorative frame place different demands on a connection. Consider grain direction, available tools, moisture exposure, and whether the joint must be visible. Test on scrap first. It saves frustration. Even experienced makers sometimes find that a neat-looking joint shifts during clamping. That is worth remembering. The sections ahead compare where each Center Joint works well, what can go wrong, and which practical details deserve a closer look before cutting.
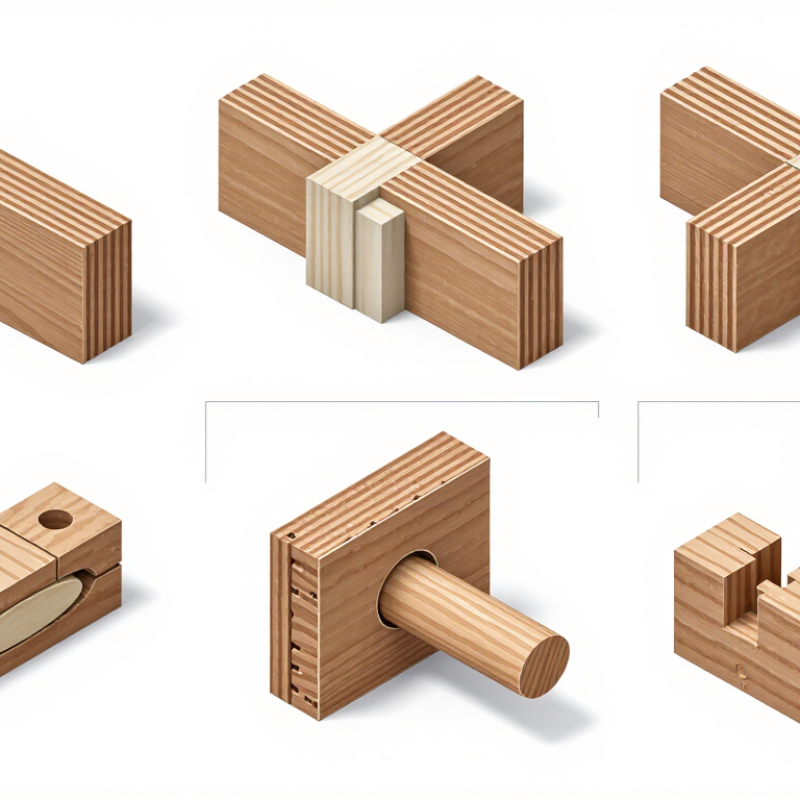
What Center Joints Are and How They Work
A center joint connects two wood members where their ends or edges meet near the middle of an assembly. The term is not fully standardized, so drawings should show the joint’s exact location and shape. Its job is to transfer loads while keeping parts aligned. A butt joint is simple, but offers little glue area on its own. A lap joint overlaps the pieces and spreads the load across a wider surface. Dowels, biscuits, or a spline can help resist sideways movement. Small details matter.
The joint works through contact, adhesive, and sometimes mechanical fasteners. Clean, close-fitting faces help; gaps can weaken the connection. The USDA Forest Products Laboratory’s Wood Handbook reports that wood in heated interiors commonly reaches about 6–8% moisture content, though local conditions change that figure. As moisture shifts, wood expands or contracts, which can stress a rigid center joint. Grain direction, material thickness, and expected loads should guide the design. A joint that looks neat may still be poorly suited to the job. I would check a test assembly before committing to the final cut.
Key Parts and Design Features of Center Joints
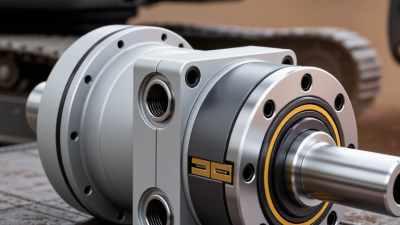
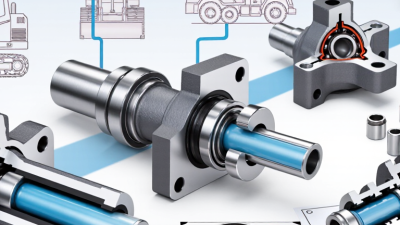
Center joints in rotating machinery usually combine a housing, central spindle, seals, and bearing surfaces. The housing carries pressure and protects internal passages. The spindle routes hydraulic fluid between stationary and rotating sections, while separate channels help prevent cross-flow. Seals sit around each passage; their material and groove shape affect leakage, friction, and service life. Small parts matter.
Bearing choice depends on load, speed, and misalignment. ISO 281:2007 gives the basic rating-life relationship for rolling bearings: L10 = (C/P)^p million revolutions. Here, C is the basic dynamic load rating, P is equivalent dynamic load, and p is 3 for ball bearings or 10/3 for roller bearings. This is a calculated reference, not a promise of actual service life. Dust, shock loading, and poor lubrication can shorten it.
Passage size also matters. Narrow ports can restrict flow and increase pressure loss; poorly separated channels risk contamination. ISO 4406:2021 classifies hydraulic-fluid particle contamination by counts at 4, 6, and 14 micrometres. That gives designers a practical cleanliness reference when specifying filtration and maintenance. Still, a clean-fluid target alone cannot compensate for worn seals or damaged surfaces. I would treat inspection access as a design feature, not an afterthought; it is easy to overlook.
Common Types of Center Joints and Their Uses
Common Types of Center Joints and Their Uses
A center joint connects two pieces where their ends or edges meet near the middle of a project. The best choice depends on load, material thickness, and whether the joint will remain visible. Measure carefully. Small errors can leave a crooked seam.
A butt joint is simple: one board meets another edge to edge. Screws, glue, or dowels can strengthen it, making it useful for basic frames and panels.
A half-lap joint removes matching sections from both pieces, so they overlap and sit nearly flush. It works well for cross-shaped frames, table supports, and other parts that need more contact area.
For cleaner alignment, a dowel joint uses short wooden pins inside matching holes. It suits cabinet frames and furniture panels, though accurate drilling matters.
A biscuit joint uses compressed wooden biscuits in narrow slots to help align boards, especially along wide panel seams. It is convenient, but not ideal for every heavy structural connection.
In workshop practice, dry-fitting each joint before adding glue can reveal gaps early. I still find this step easy to rush. That is usually when a seam shifts.
How Center Joint Types Differ in Performance
Center-joint performance depends on how the belt carries tension across the splice. A stepped splice spreads load over overlapping layers, giving adhesive more contact area. A finger splice interlocks tapered fingers, reducing a bulky ridge and bending stress as the belt wraps around pulleys.
Small detail, big effect.
A poorly cut finger can still create a local weak point.
Mechanical fasteners allow quick repairs, but their plates create a thicker, less flexible zone that may catch on scrapers or pulleys. Vulcanized joints need more preparation and controlled heat, yet produce a smoother bond when curing is consistent.
ISO 15236-4:2017 sets design and testing requirements for vulcanized joints in steel-cord conveyor belts; it does not provide one universal strength figure for every installation. Compare actual test records instead: joint tensile strength as a percentage of belt strength, splice thickness, cure conditions, and service hours. Those numbers reveal more than appearance.
Even careful records can miss uneven loading or moisture at the joint. That is worth checking.
Factors for Choosing the Right Center Joint
Choosing a center joint starts with the forces it must handle. A joint under steady compression may need a different design from one exposed to twisting, vibration, or repeated movement. Check the load direction, expected cycle count, and how much misalignment the assembly can tolerate. A few millimeters of offset can matter when connected parts must move smoothly.
Material and surroundings matter, too. Heat, moisture, dust, and chemical exposure can change how a joint wears or holds its fit. Compare rigid options, which can provide firm support, with flexible designs that allow movement but may need more frequent inspection. Small details matter. Look at the available installation space, tool access, and whether the joint can be checked without dismantling nearby parts. A strong design is less useful if technicians cannot reach it.
Do not choose by appearance alone. A clean drawing may hide a difficult fit on the shop floor, especially when parts vary slightly. Consider how the joint will be assembled, adjusted, and maintained over time. I would verify dimensions and operating conditions before settling on a type; that extra check can feel slow, but skipping it can create avoidable wear.

 +86 18578756148
 CONTACT NUMBER
 CONTACT NUMBER
 CONTACT NUMBER

 CONTACT NUMBER